
Undercut Anchor Installation Guide: Torque-Controlled, Impact-Installed, and Self-Undercut Anchors
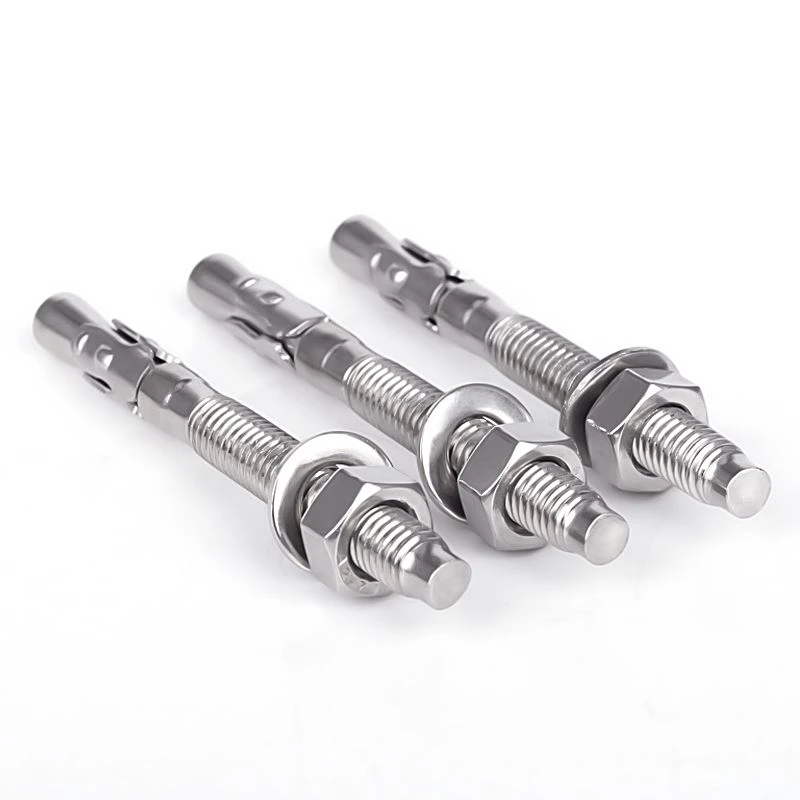
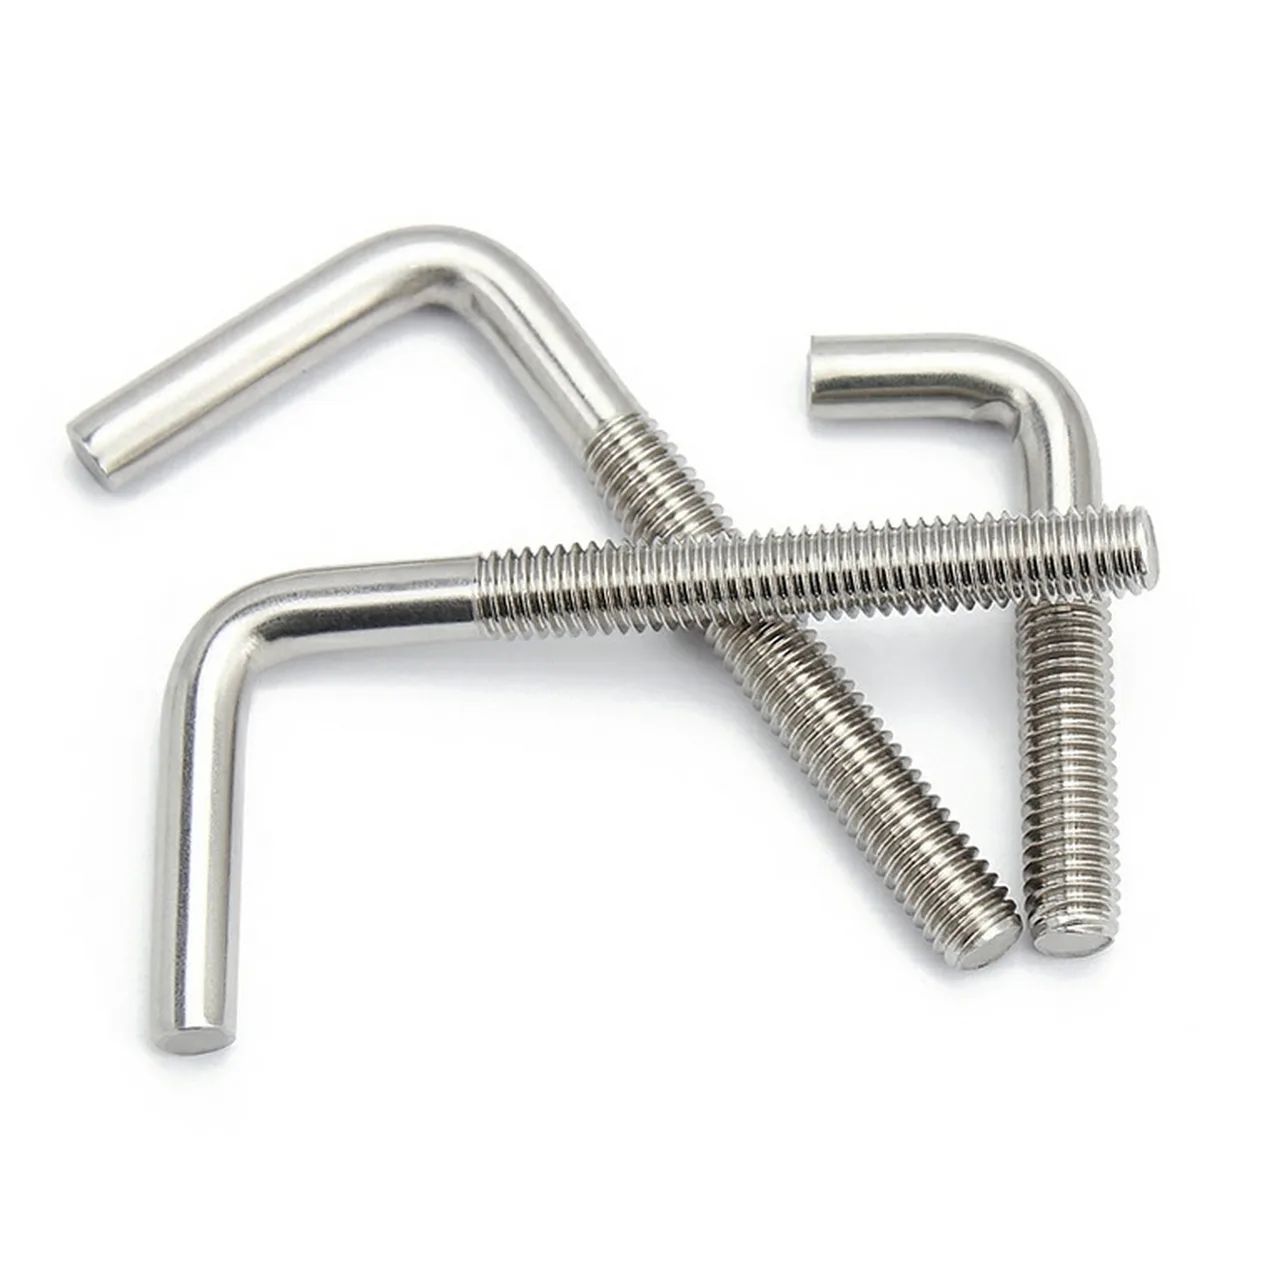
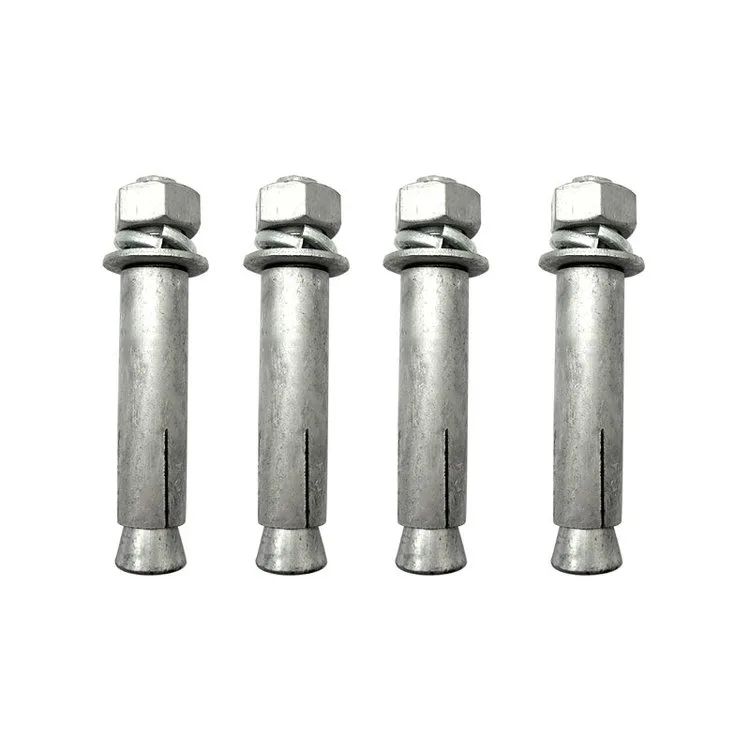
Undercut anchors are high-performance mechanical anchors designed for reliable fastening in concrete (related series: stainless wedge anchors, wedge anchors, L-anchor bolts). Unlike standard expansion anchors, undercut anchors create or engage a shaped bearing area at the bottom of the drilled hole. This mechanical interlock improves load transfer and helps deliver reliable performance in demanding applications such as structural steel connections, seismic fastening, overhead installation, facade systems, retrofit work, and critical equipment anchorage.
This guide explains three common types of undercut anchors:
- Torque-Controlled Undercut Anchor
- Impact-Installed Undercut Anchor
- Self-Undercut Anchor
Each anchor type uses a different installation method, tool set, and locking mechanism. The correct anchor should always be selected according to the manufacturer’s technical data, concrete condition, approval documents, load requirements, and installation environment.
1. Torque-Controlled Undercut Anchor

A torque-controlled undercut anchor is installed by tightening the nut or bolt. During tightening, the cone is pulled upward and expands the clip into the pre-formed undercut at the bottom of the hole. This creates a strong mechanical lock between the anchor and the concrete.
Installation Steps
-
Drill the Hole
Drill a hole to the required diameter and depth according to the anchor specification.
-
Create the Undercut
Use the specified undercut tool to form the undercut cavity at the bottom of the drilled hole.
-
Clean the Hole
Remove dust, drilling residue, and loose debris using a brush, air blower, or approved hole-cleaning method.
-
Insert the Anchor
Insert the anchor into the hole until it reaches the required depth or bottoms out as specified.
-
Tighten the Nut
Tighten the nut or bolt with a calibrated torque wrench to the specified torque value.
-
Anchor Locked
As the cone is pulled upward, the clip expands into the undercut and forms a secure mechanical interlock.
Key Features
- Requires a pre-formed undercut.
- Installed by tightening with a torque wrench.
- Provides very high load capacity and reliable mechanical performance.
- Suitable for structural steel, seismic fastening, critical equipment anchorage, and safety-related applications.
- Final tightening torque is essential for correct installation.
Typical Applications
- Structural steel base plates
- Seismic anchorage
- Bridge and infrastructure fastening
- Safety-critical brackets
- Heavy equipment foundations
- High-load concrete anchorage
2. Impact-Installed Undercut Anchor

An impact-installed undercut anchor also requires a pre-formed undercut. Instead of being set primarily by torque tightening, it is installed using a setting tool and hammer. The impact force drives the setting tool, moves the cone, and expands the clip into the undercut.
Installation Steps
-
Drill the Hole
Drill a hole to the required diameter and depth.
-
Create the Undercut
Use the specified undercut tool to form the undercut at the bottom of the hole.
-
Clean the Hole
Remove all drilling dust and debris with a brush, blower, or approved cleaning process.
-
Insert the Anchor
Insert the anchor into the hole until it is correctly seated.
-
Impact Setting
Place the setting tool onto the anchor and drive it with a hammer to set the cone and expand the clip.
-
Anchor Locked
The cone moves and expands the clip into the undercut, forming a positive mechanical lock. Some products may still require final tightening after impact setting.
Key Features
- Requires a pre-formed undercut.
- Installed by impact setting with a setting tool and hammer.
- Faster than many torque-controlled systems.
- Suitable for overhead installation and hard-to-reach areas.
- Some anchor designs may require final tightening after setting.
- Good choice where installation speed and access are important.
Typical Applications
- Overhead fastening
- Tunnel and ceiling installation
- Hard-to-reach concrete anchorage
- Fast field installation
- Utility brackets and service supports
- Retrofit fastening where hammer setting is preferred
3. Self-Undercut Anchor

A self-undercut anchor forms its own undercut during installation. It does not require a separate undercut tool before anchor placement. As the anchor is tightened, cutting teeth or a cutting edge at the anchor tip removes concrete and forms the undercut cavity.
Installation Steps
-
Drill the Hole
Drill a standard hole to the required diameter and depth.
-
Clean the Hole
Remove dust and debris using a brush, blower, or approved cleaning method.
-
Insert the Anchor
Insert the anchor into the drilled hole.
-
Tighten the Anchor
Tighten the nut or bolt with a torque wrench. The cutting teeth begin removing concrete during tightening.
-
Form the Undercut
The undercut is formed automatically at the bottom of the hole during the installation process.
-
Anchor Locked
The cone is pulled upward, expanding the clip into the self-formed undercut and creating a mechanical lock.
Key Features
- No separate undercut tool is required before installation.
- Forms the undercut during tightening.
- Fast and efficient installation.
- Helps reduce labor time and installation cost.
- Suitable for general construction, retrofit applications, and quick installation work.
- Typically offers high load capacity, depending on the anchor design and substrate condition.
Typical Applications
- General construction anchorage
- Retrofit fixing
- Fast installation projects
- Concrete equipment brackets
- Site work where tool reduction is important
- Medium to high-load anchorage where the product is approved for the design
Comparison Table
| Anchor Type | Pre-Undercut Required | Installation Method | Drive Mechanism | Final Tightening | Tools Required | Installation Speed | Load Capacity | Typical Applications |
|---|---|---|---|---|---|---|---|---|
| Torque-Controlled Undercut Anchor | Yes | Tightening | Nut or bolt | Yes | Drill, undercut tool, brush or blower, calibrated torque wrench | Medium | Very High | Structural steel, seismic fastening, critical equipment anchorage |
| Impact-Installed Undercut Anchor | Yes | Impact setting | Setting tool and hammer | Depends on product design | Drill, undercut tool, brush or blower, setting tool, hammer | Fast | High | Overhead installation, hard-to-reach areas, fast field installation |
| Self-Undercut Anchor | No | Tightening | Nut or bolt | Yes | Drill, brush or blower, calibrated torque wrench | Very Fast | High | General construction, retrofit fixing, quick installation projects |
How to Choose the Right Undercut Anchor
Choose a torque-controlled undercut anchor when maximum mechanical reliability, high load capacity, and controlled final tightening are required. This type is often preferred for critical structural fastening and applications where the specified torque must be verified.
Choose an impact-installed undercut anchor when the project requires a pre-formed undercut but faster setting is preferred, especially in overhead or difficult-access locations. This method is useful when hammer setting is more practical than torque-controlled expansion during the initial installation stage.
Choose a self-undercut anchor when installation speed is important and the design allows the anchor to form its own undercut without a separate undercut tool. This type can reduce installation steps and simplify work on site, provided the selected anchor is approved for the intended load and substrate condition.
Important Installation Notes
- Always follow the manufacturer’s installation instructions, technical data sheet, and approved design documentation.
- Use the correct drill bit diameter and drilling depth.
- Clean the hole thoroughly before inserting the anchor.
- Use only the specified undercut tool, setting tool, or installation equipment for the selected anchor system.
- Use a calibrated torque wrench whenever final tightening torque is required.
- Verify concrete strength, cracked or uncracked concrete condition, edge distance, spacing, embedment depth, and fixture thickness before installation.
- For critical anchorage, confirm product approvals such as ETA, ICC-ES, ACI, or project-specific engineering requirements.
- Improper installation can reduce load capacity and may compromise anchor performance.
- For overhead, seismic, safety-related, or structural applications, installation should be performed by trained personnel under approved site procedures.
Common RFQ Information for Undercut Anchors
When requesting a quotation for undercut anchors, provide as much project information as possible:
- Anchor type: torque-controlled, impact-installed, or self-undercut
- Anchor size and length
- Material and grade, such as carbon steel, stainless steel, A2, A4, or project-specific alloy
- Concrete condition: cracked or uncracked concrete
- Required embedment depth
- Fixture thickness
- Edge distance and anchor spacing, if known
- Load requirements, including tensile, shear, seismic, or fatigue demand
- Surface finish or corrosion protection requirement
- Required approval standard or project specification
- Quantity and packaging requirement
- Certificate requirements, such as MTC, CoC, dimensional report, or approval documents
Conclusion
Undercut anchors provide a strong mechanical fastening solution for demanding concrete applications. Torque-controlled, impact-installed, and self-undercut anchors each offer different advantages in installation control, speed, tool requirements, and application suitability.
Correct anchor selection, proper hole preparation, approved installation tools, and verified tightening or setting procedures are essential for achieving the rated load performance. For final design and installation, always refer to the manufacturer’s technical data, approval documents, and project engineering requirements.
Disclaimer
This guide is for general technical reference only. It does not replace manufacturer installation instructions, anchor approval documents, structural engineering calculations, or jobsite safety procedures. Final anchor selection and installation must be verified according to the specific anchor product, concrete substrate, load condition, and applicable code or approval requirement.